June 2022 General Meeting - All about jigs
Carolyn welcomed everyone, in particular our three visitors and went on to confirm a few of the things that FWWA have in place for the coming months.
Len Starkie invited us to his workshop to talk about CNC and Laser machines and this will be arranged for some time in October.
Kevin has organised for us to visit his timber suppliers, “Auspol Timber Importers” on Saturday 23rd July so pencil this into your diary as this is something that you will not want to miss. They have a fantastic range of timbers and flooring available.
The “Out of the Woods” competition is confirmed and locked in place for the 8th – 9th October and it is open to all our members for anything they have built since Covid began, so anything in the past 2 years. You still have plenty of time to finish something spectacular and run away with the 1st prize in one of the many categories available. We are working on get the schools involved and will have more information soon.
Kevin confirmed that the collaboration group had invited the award-winning French sculpture Benoit Averly to their workshop in September and he would be giving a talk to the Melville Woodturners and ourselves around the same time.
We do not get the opportunity to meet artisans of this calibre that often, and you will not want to miss this event.
You can find out more about his work at https://benoitaverly.com/about-me/
All about Jigs
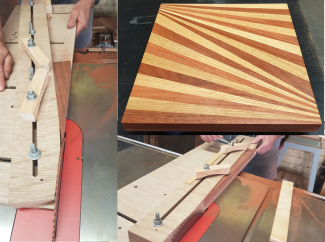
Mark Pearson started the evening off, by showing us the jigs that he and Laurie had used to produce the outside furniture that they brought to our March meeting, followed by how he turns any Jarrah offcuts into very functional cheese knives in something like 15 minutes.
Finally, we saw his tapered jig which he uses on his circular saw to cut a variety of shaped timber and makes it into chopping boards.
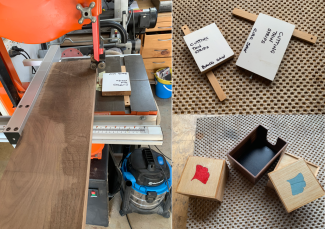
I then spoke about the need to cut thin timber strips consistently at the same thickness, to construct trays, small boxes and inserts, out of whatever material you have available, using similar jigs for either the band saw or the circular saw.
Len Starkie talked about the metal jigs he used for pulling boxes together, and how he used “Corian” samples as spacers but warned us to make sure we only used the square edged samples, as those with rounded edges were unsuccessful.
Apparently “Corian” pieces, if you could find any, were particularly good as glue up or sanding boards.
Kevin then showed us how he had set pin hinges into the lid and base of his small boxes, complete with two 3mm rare earth magnets, he then passed around his jig for consistently rounding the corners of his cheese boards which helped make sure, that he ALWAYS worked down the grain.
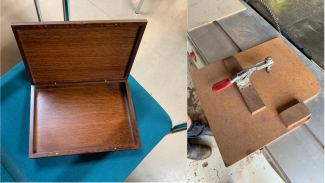
This was made from 6mm MDF and to make it last longer he frequently added “super glue” to the edges, he said it was also good to add this to any screw holes needed in MDF.
He spoke about having a jig used to cut high density foam on his CNC machine, and Ian confirmed that you got better results cutting high density foam and less tear out, by fitting your circular saw blade backwards.
Kevin said that to get the quality he needed; the HD foam had to be sent to Melbourne to be “flocked” before being installed in each Jarrah presentation box.
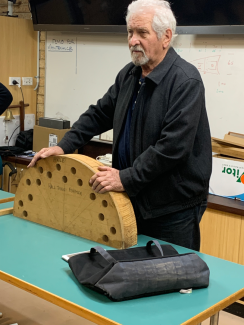
Stan Keen had brought along his jig for constructing the semi-circular sections for his “Demi-lune” table together with its curved drawer front, made from Oregon timber with American White Oak veneer. It took a couple of samples before he was satisfied with the results and had learned that you had to start in the middle of the jig and then work each way. He said that if anyone wanted to try this style of construction, they were more than welcome to borrow it.
Allan Williams had brought in his jigs for installing different types of hinges and recess jig for using his trimmer router. He had also had a jig for his mitre drop saw making his diamond bread board all of which included using his router guides. He also showed us his complete lettering system which again used a router guide.
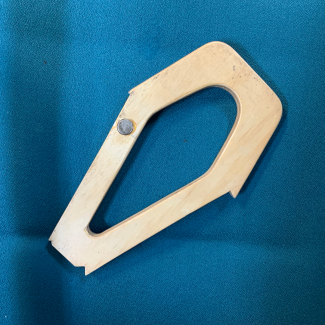
Neil Bennet came with an interesting push stick which he had found on the internet and was one of the best he had used.
Paul Birchall reminded us that as a good starting place, we should all look at the DVDs on Jigs, which are in our library and available for any member to take out on loan for one month.
He said that he had found fitting feet to boxes a challenge, until he made a jig that enabled them to be fitted precisely every time. These were passed around for everyone to see.
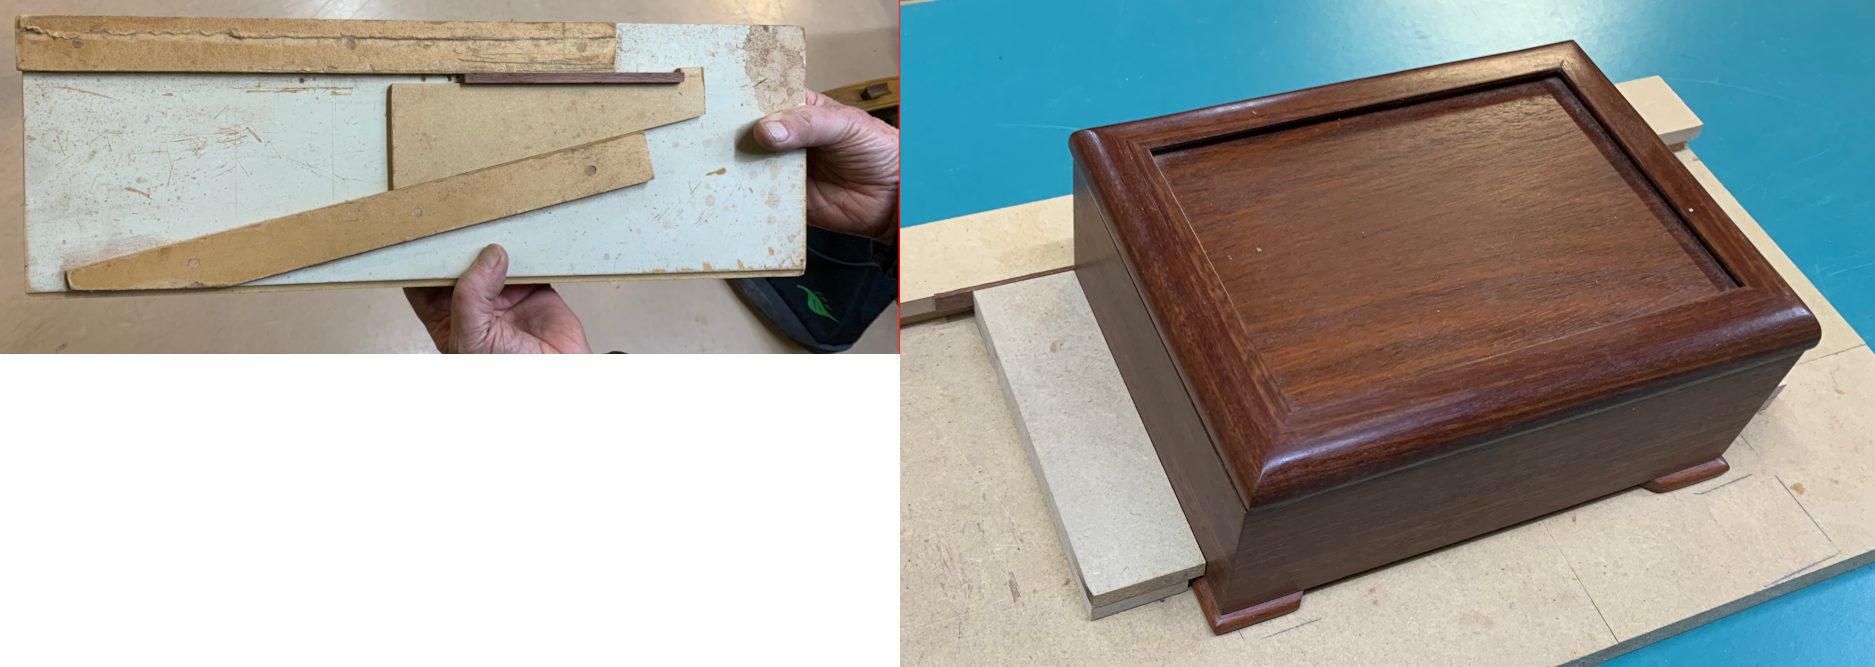
He had brought along his favourite shooting board and said that he found it essential, this together with his jig for planing small pieces, and a jig for producing mitres on small trays. He had also brought his commercial “Incra” jig which enabled a high degree of accuracy on all his work.
Mark Ellis showed us the jig he used for producing hand cut dovetails. His latest Jig is for fitting Rockler quadrant hinges for a perfect fit every time, and whilst expensive it enables you to benefit from installing the more reasonable Rockler hinges.
- https://www.rockler.com/solid-brass-box-hinges
- https://www.rockler.com/jig-it-hinge-mortising-system
Ian had brought along two of his jigs for us to have a look at, first it was his jig for fitting splines to the mitred corners of his picture frames and second was his jig for shooting the edge of veneers prior to joining them together.
Then it was Carolyn’s turn, and she showed us her jig for cutting tapered laminations that when glued together on a form make curved legs. This was made in Michael Fortunes Jig and Fixtures course at the Perth Wood School.
She had also brought along her sanding block jig and one for making wedges.
Peter Bell talked to us about his coopered back dining room chairs and showed us samples of how each one had to look. This took a total of four jigs for each stave, 1 and 2 for the band saw, 3 and 4 for the router table.
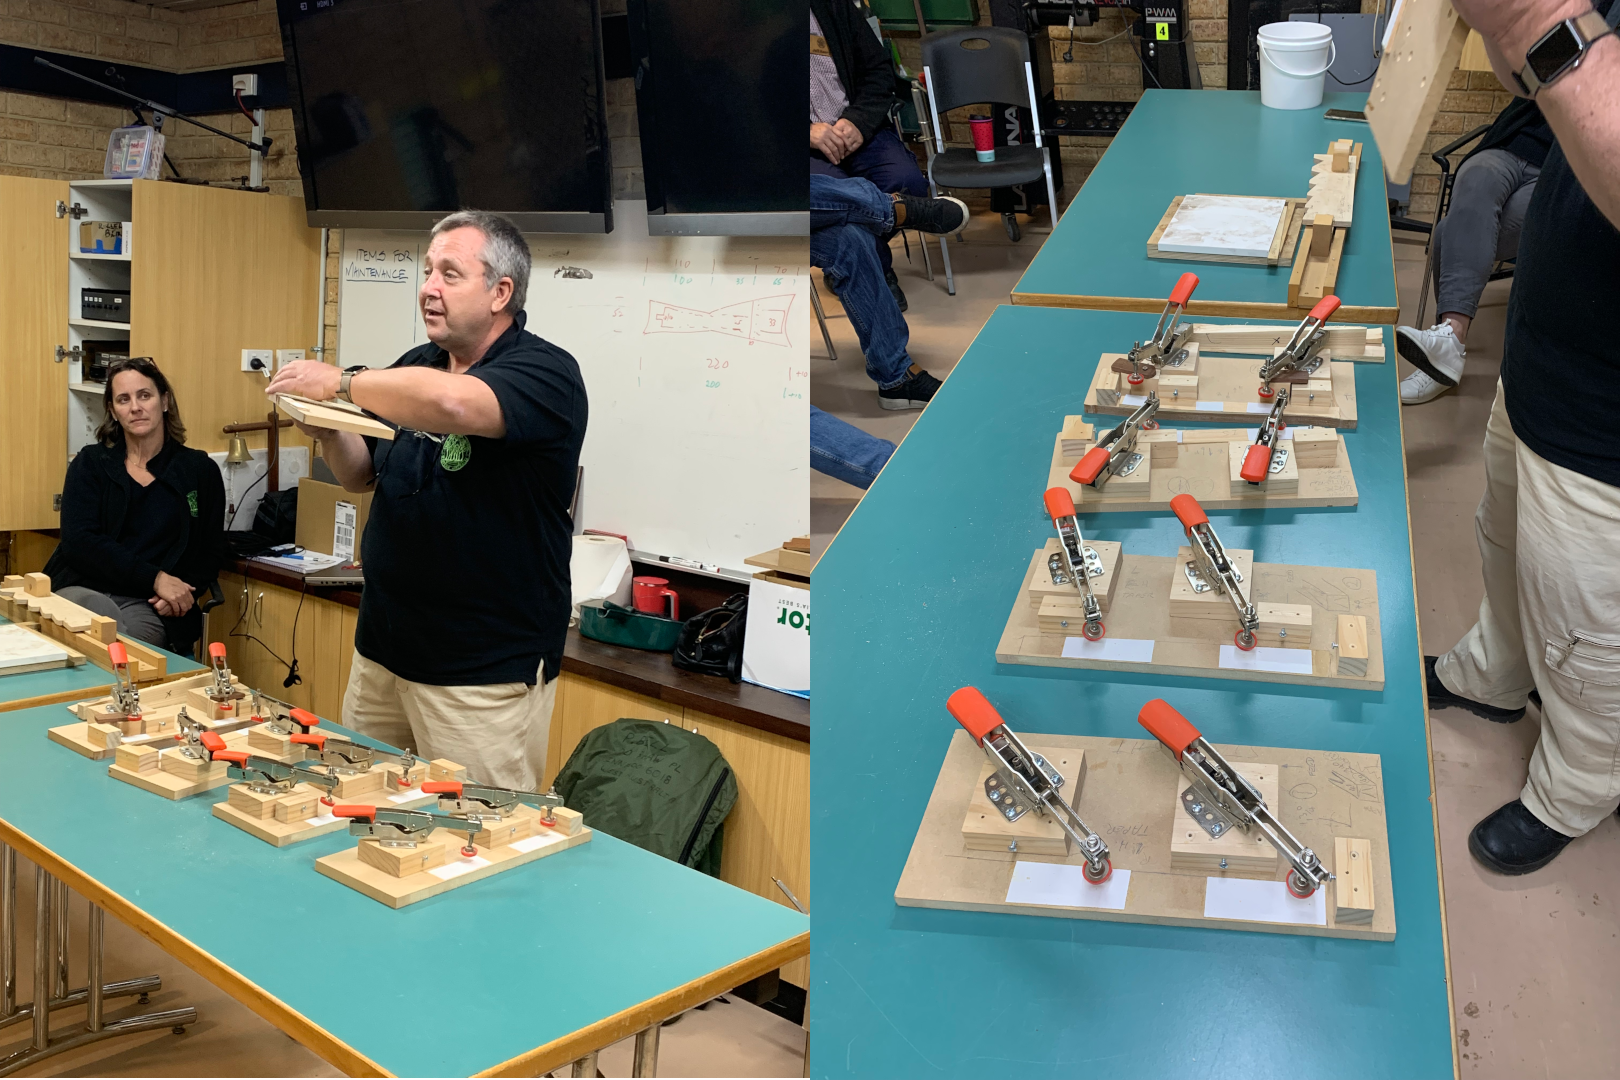
The overall look and the finished product were amazing.
Somewhere during the night, we managed to sort through the veneers on display in the work shed and anyone who wanted something for one of their projects or just something to practice their marquetry would have found something suitable.
At the end I thought it had been a great night with such a variety of members favourite jigs being shown, it did not matter what you were interested in, there had to be something that would have interested you and possibly made your life easier.
You should always remember that these jigs came about because someone needed a better way of building a piece of woodwork, and that expertise, together with details of how those jigs work is there to save you having to do the same exercise, you just have to ask.
